
-
1. Measure the Real Installation Conditions
-
2. Specify Photometric Performance, Not Just Wattage
-
3. Check Color Consistency, Not Just the Labeled CCT
-
4. Verify Driver Specifications and Dimming Compatibility
-
5. Ask for Certifications That Match the Exact Product
-
6. Plan for Spares and Replacement Parts
-
What I'd Add If Your Project Is Different
Let me set the scene. You're preparing a quotation for a commercial tenant fit-out. The architect's schedule calls for 120 recessed downlights. The client wants good quality LEDs but doesn't want the budget to blow up. You've got three Opple ceiling light options open in your browser and a product rep somewhere between helpful and pushy. Which fixture do you spec?
I'm the person who reviews lighting deliveries before they reach customers. In a typical year, I inspect roughly 200 fixture models--downlights, panels, track heads, linear systems. I've rejected first deliveries for small things like missing gaskets and for big things like a 400-unit batch with inconsistent color temperature.
Below is the six-check downlight specification guide I wish every distributor and contractor would run before placing an order. It's practical, not theoretical. If you're a track lighting distributor or doing spotlight sourcing for a retail or hospitality project, the last three steps matter even more.
1. Measure the Real Installation Conditions
Start with the ceiling, not the cutout size. Recessed downlights are not as universal as they look. A 3-inch and 3.5-inch cutout can seem interchangeable until the trim doesn't seat or the housing doesn't fit in the plenum.
Check ceiling depth, grid orientation, insulation proximity, and access above the ceiling. Is the driver integrated or remote? Is there enough space for a junction box? These details seem painfully obvious, but I've seen orders where the housing was correct and the driver was physically too big for the cavity.
Checkpoint: Write the actual cutout dimension, mounting type, and plenum depth on the submittal sheet. If the fixture is for a gimbal or adjustable trim, confirm how much tilt the ceiling depth allows.
2. Specify Photometric Performance, Not Just Wattage
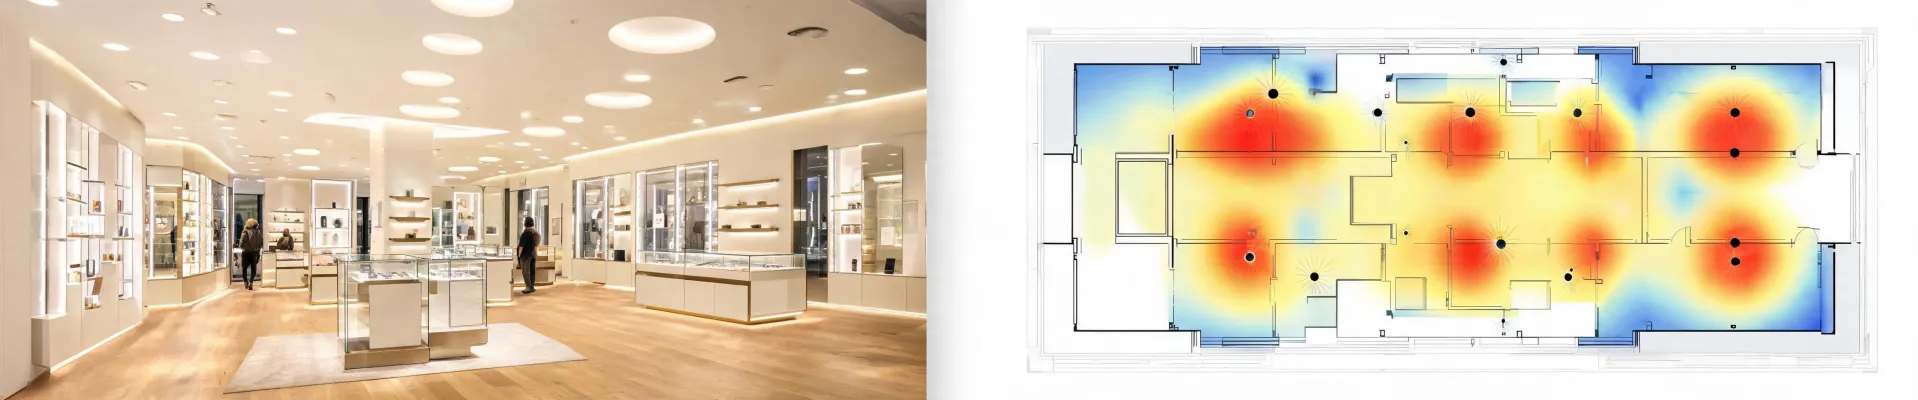
Wattage tells you power draw. It doesn't tell you where the light goes. A 12W downlight with a 24-degree beam is not the same as a 12W downlight with a 60-degree beam. One is for accenting, the other is for general fill.
Ask for the IES file or photometric data for each optic you're considering. Then look at beam angle, center beam candlepower, and how the distribution behaves at the mounting height you're planning. For a 9-foot ceiling, a narrow spot might create pools of light. For a 16-foot ceiling, the same fixture might not deliver enough punch to the floor.
This is where spotlight sourcing gets interesting. If you're buying adjustable downlights or track heads for product displays, small changes in reflector finish change the beam appearance. A 15-degree optic can look dramatic. A 30-degree optic can look flat. Both are usable. Both need to be chosen deliberately.
Checkpoint: Load the IES files into a simple photometric calculator before you compare prices. If the supplier says they don't have photometric files, treat that as a red flag.
3. Check Color Consistency, Not Just the Labeled CCT
Here's the thing: 4000K does not mean one precise color. LED manufacturers batch their chips, and different bins can look visibly different side by side. If you order 4000K from one factory line and the factory substitutes a different LED bin, the left side of your ceiling can look warm while the right side looks cool.
I don't have hard data on how many projects get delayed by color mismatch complaints, but based on our inspection station and return shelf, my sense is it's far more common than buyers expect. The fix is in the spec: require a defined color consistency range, usually stated as a MacAdam ellipse. A 3-step MacAdam is a common choice for spaces where fixtures sit next to each other. A 5-step can be acceptable, but you're accepting more visible variation.
For this reason, when someone asks for an Opple commercial lighting order, I always confirm whether the project needs CRI 80 or CRI 90. That's a different spec, not a decorative extra. CRI 90 matters in hospitality and retail because fabric and skin tones look better. It also tends to come with different driver and thermal requirements.
Checkpoint: Write CCT, CRI, and the color consistency range on the purchase order. If a supplier can't state their MacAdam step, ask them to find out before you approve samples.
4. Verify Driver Specifications and Dimming Compatibility
Driver selection is not a back-office detail. It is the part most likely to cause flicker, buzzing, premature failure, and compatibility headaches. Check input voltage, driver type, dimming protocol, and surge rating before you get attached to a fixture price.
A mistake I run into a lot is assuming a standard downlight will work with an existing 0-10V or DALI system. It might, but if the driver isn't listed for that control method, you won't know until commissioning. Then you're swapping drivers on a ladder in a finished space.
Years ago, I approved a cost-reduced variant that swapped the standard driver to save about a dollar per fixture on a 400-unit order. It looked like a smart margin move. Three weeks after installation, the client sent videos of lights flickering. Replacing those drivers on site cost several times the original saving. Now driver changes are treated as a full spec change, not a value engineering side note.
Checkpoint: Confirm the driver model number, dimming type, and compatibility with the control system on every line item. If the driver is not named in the quote, ask for it.
5. Ask for Certifications That Match the Exact Product
It is easy to put a UL logo, CE mark, or DLC listing on a website. It is harder to keep the certificate current for the exact model you are importing. Logos printed on a brochure do not prove compliance.
I learned this during a Q1 2024 internal audit. We found two certificates with model numbers that didn't match the nameplates on the fixtures. The factory said the certificates were for a 'similar' product. That answer doesn't help when a project manager asks for compliance documents before they authorize the electrical contractor to energize the ceiling.
For any Opple ceiling light you plan to stock or specify, ask for:
- The electrical safety certificate or test report, not just the letter of declaration.
- The certification body and official listing number, if one exists.
- A copy of the datasheet that matches the product code on the carton.
If the customer requires energy rebates or DLC listing, make sure the exact SKU is in the DLC database before ordering. The term 'DLC-ready' doesn't pay the rebate.
Checkpoint: Check the certificate expiry date and model list before you issue the PO. If a factory says the report is coming 'next week', wait.
6. Plan for Spares and Replacement Parts
A downlight specification isn't just about the fixture going into the ceiling. It's about what happens two years later when a driver dies or a lens gets scratched. At the specification stage, ask what spare parts are available and how long they will be stocked.
This matters even more for track lighting. If you're a track lighting distributor stocking multiple fixture families, you need to know whether the track adapter, removable modules, and optics can be ordered separately. Locking yourself into a proprietary track system without a spare parts path is how you end up telling a customer they need to replace the whole track. Not ideal.
For private label or OEM orders, request a recommended spare part list and replacement procedure. I understand that spares inventory costs money. But the cost of one urgent replacement order, plus expedited freight, plus an annoyed customer, is usually higher than a small stock of drivers and optics would have been.
Checkpoint: For each model, note the expected driver life, L70 rating if the supplier provides one, whether the LED module is replaceable, and which accessories are orderable separately. If the answer is 'we can probably get something similar,' that's not a plan.
What I'd Add If Your Project Is Different
The checklist above works well for standard commercial interiors: offices, retail, hospitality, schools. If you're working on a hospital, museum, or industrial cleanroom, you'll have extra requirements like UGR limits, emergency lighting, antimicrobial finishes, or high IP ratings. This isn't the full anti-everything list. It's the baseline I use to keep ordinary projects from becoming quality incidents.
Three common mistakes still cause most of our inspection rejections:
- Choosing fixtures by wattage and price alone, then being surprised when the light distribution is wrong.
- Assuming that '4000K' from different product families will match in the same room.
- Accepting a last-minute component substitution without samples. When the factory says 'equivalent driver' or 'same LED but better,' that means stop. Approve the change formally or don't approve it.
Bottom line: A good downlight spec is not about the most impressive brochure. It's a set of measurable decisions you make before you buy. An informed customer asks better questions and ends up with fewer field surprises. Spec first. Buy later. It's cheaper than a redo.

Clara Whitmore
Clara Whitmore is a lighting photometry and LED source analyst specializing in bulbs, tubes, strips, panels, and integrated luminaires. She interprets IES LM-79 measurements and TM-30 color rendition data through luminous flux, efficacy, intensity distribution, CCT, chromaticity, fidelity, and gamut metrics. She writes evidence-led comparisons for specifiers selecting source formats and luminaires for commercial interiors, industrial spaces, or horticultural systems where measured optical and color performance matter.